4 Misconceptions About Laying Sod
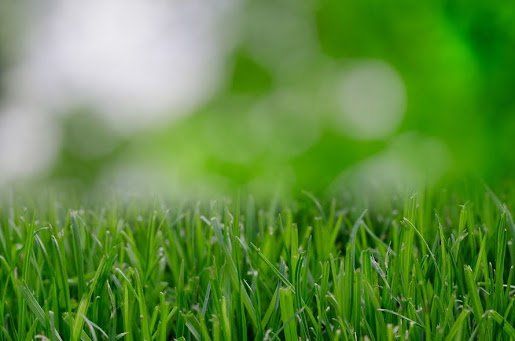
If you have decided to replace your existing lackluster, weed-filled grass with fresh, healthy sod or would like to add sod to a few areas of your yard that are not yet covered in grass, then you may be busy choosing your sod grass type and making plans for sod installation. While laying sod is a relatively easy process, many homeowners have misconceptions about this process that can lead to problems with their new grass now or in the future.
Read on to learn about four misconceptions about laying sod and the facts behind these myths.
1. Soil Under Sod Should Lie Flush With the Pavement
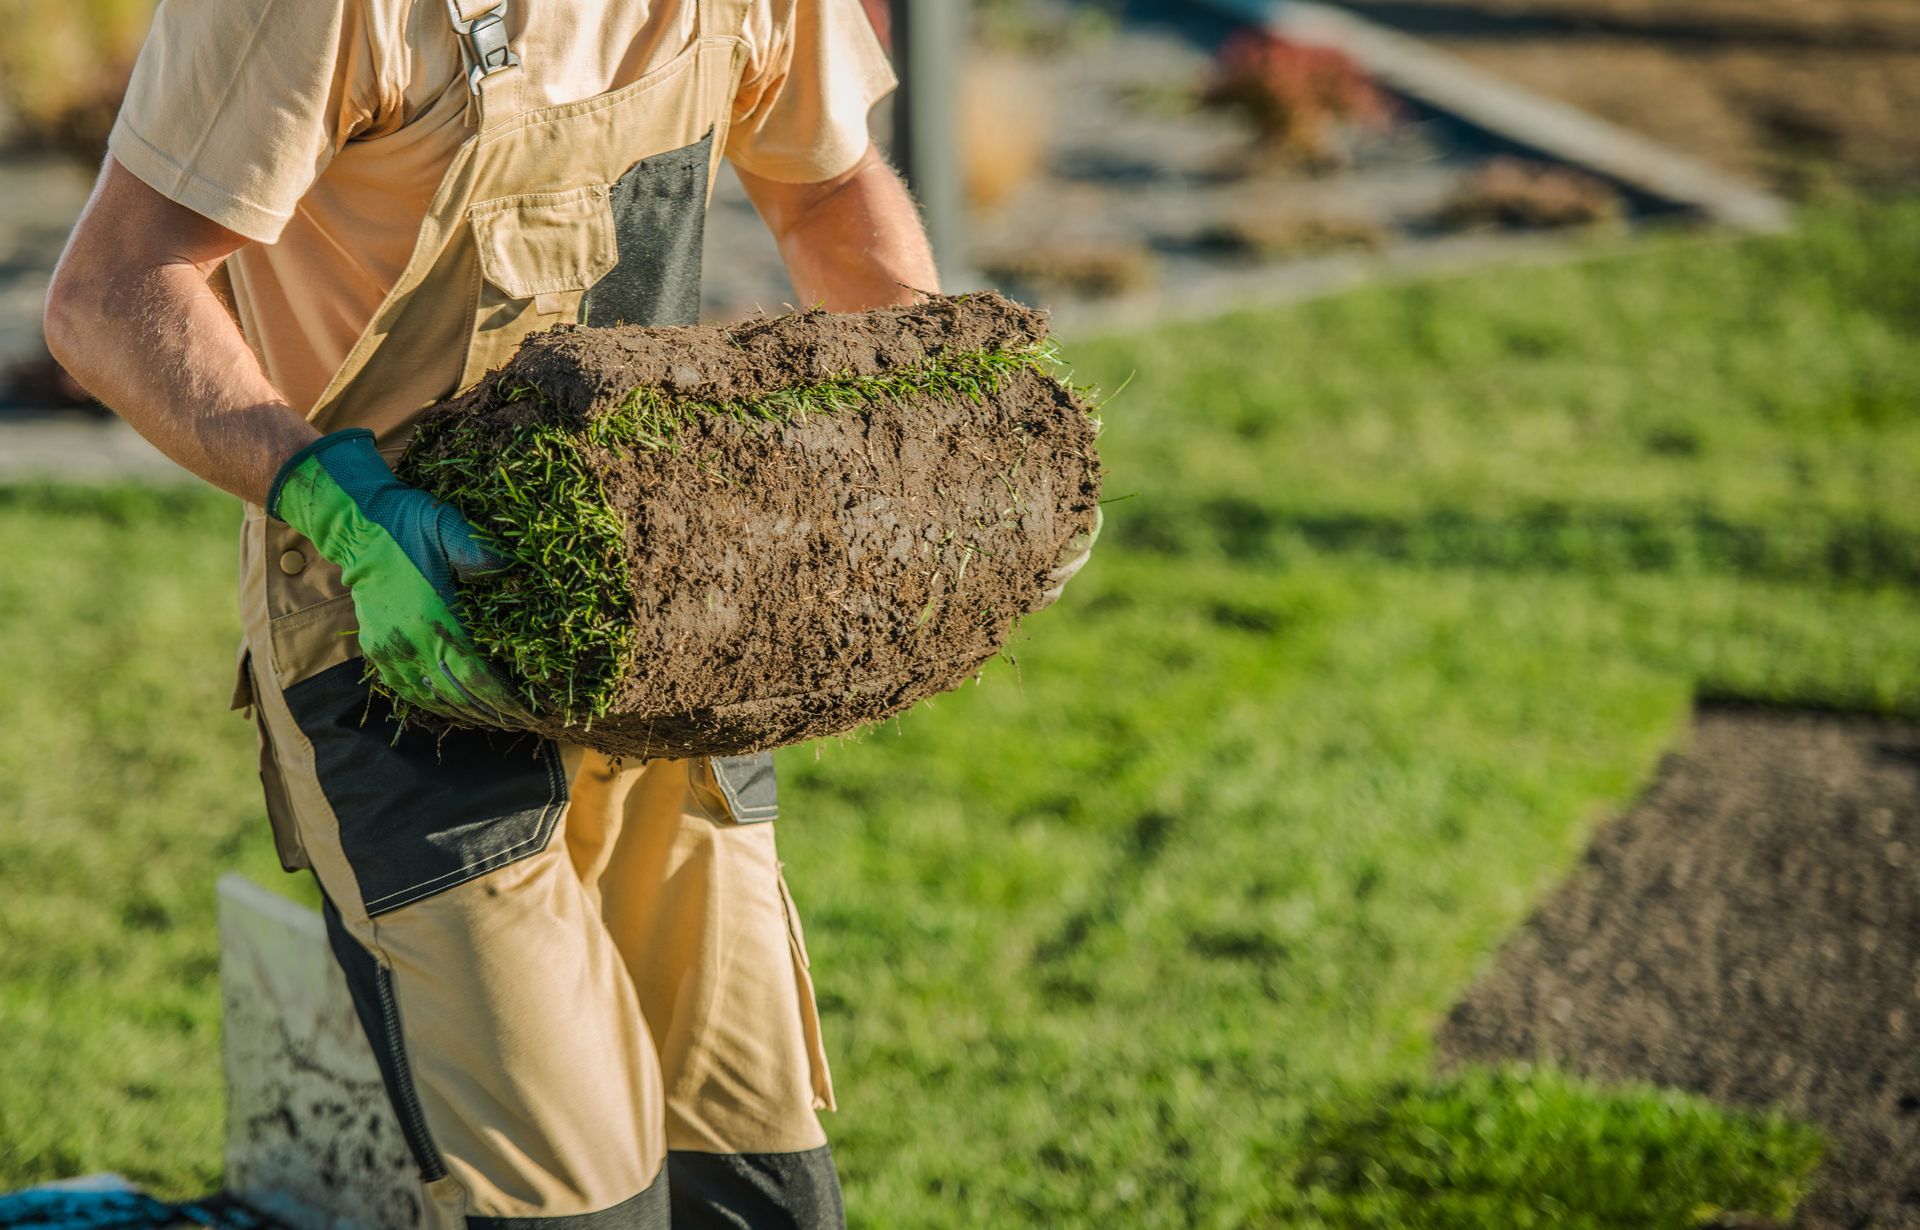
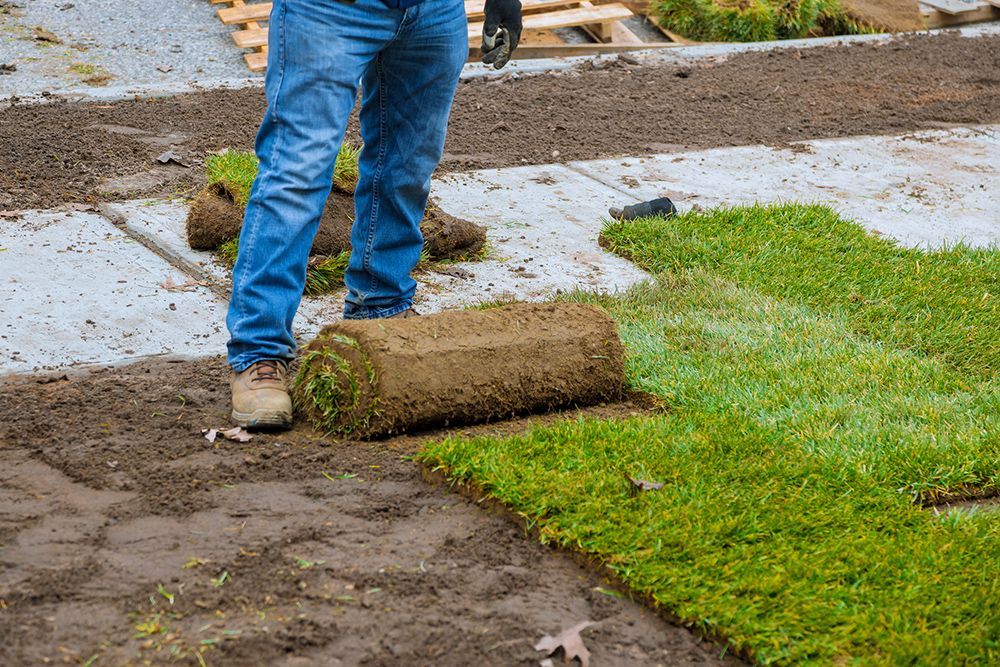
Good soil preparation is one of the keys to healthy lawn development after sod is planted. However, one mistake homeowners often make when preparing existing soil for new sod is adding too much or too little new soil during the preparation process. Since sod can range in thickness from under one inch to up to three inches, the thickness of the sod that will be laid must be taken into account when preparing the soil for new sod.
Ideally, you want your lawn to lie flush with pavement in your yard, including your driveway and patios, after sod installation to encourage good water drainage. For this reason, you should ask your sod supplier how thick your new sod will be and account for this thickness when preparing your soil.
For example, if your new sod will be ¾-inch in thickness, then you should ensure that your prepared soil lies about ¾ of an inch below pavement surfaces before you install your new sod.
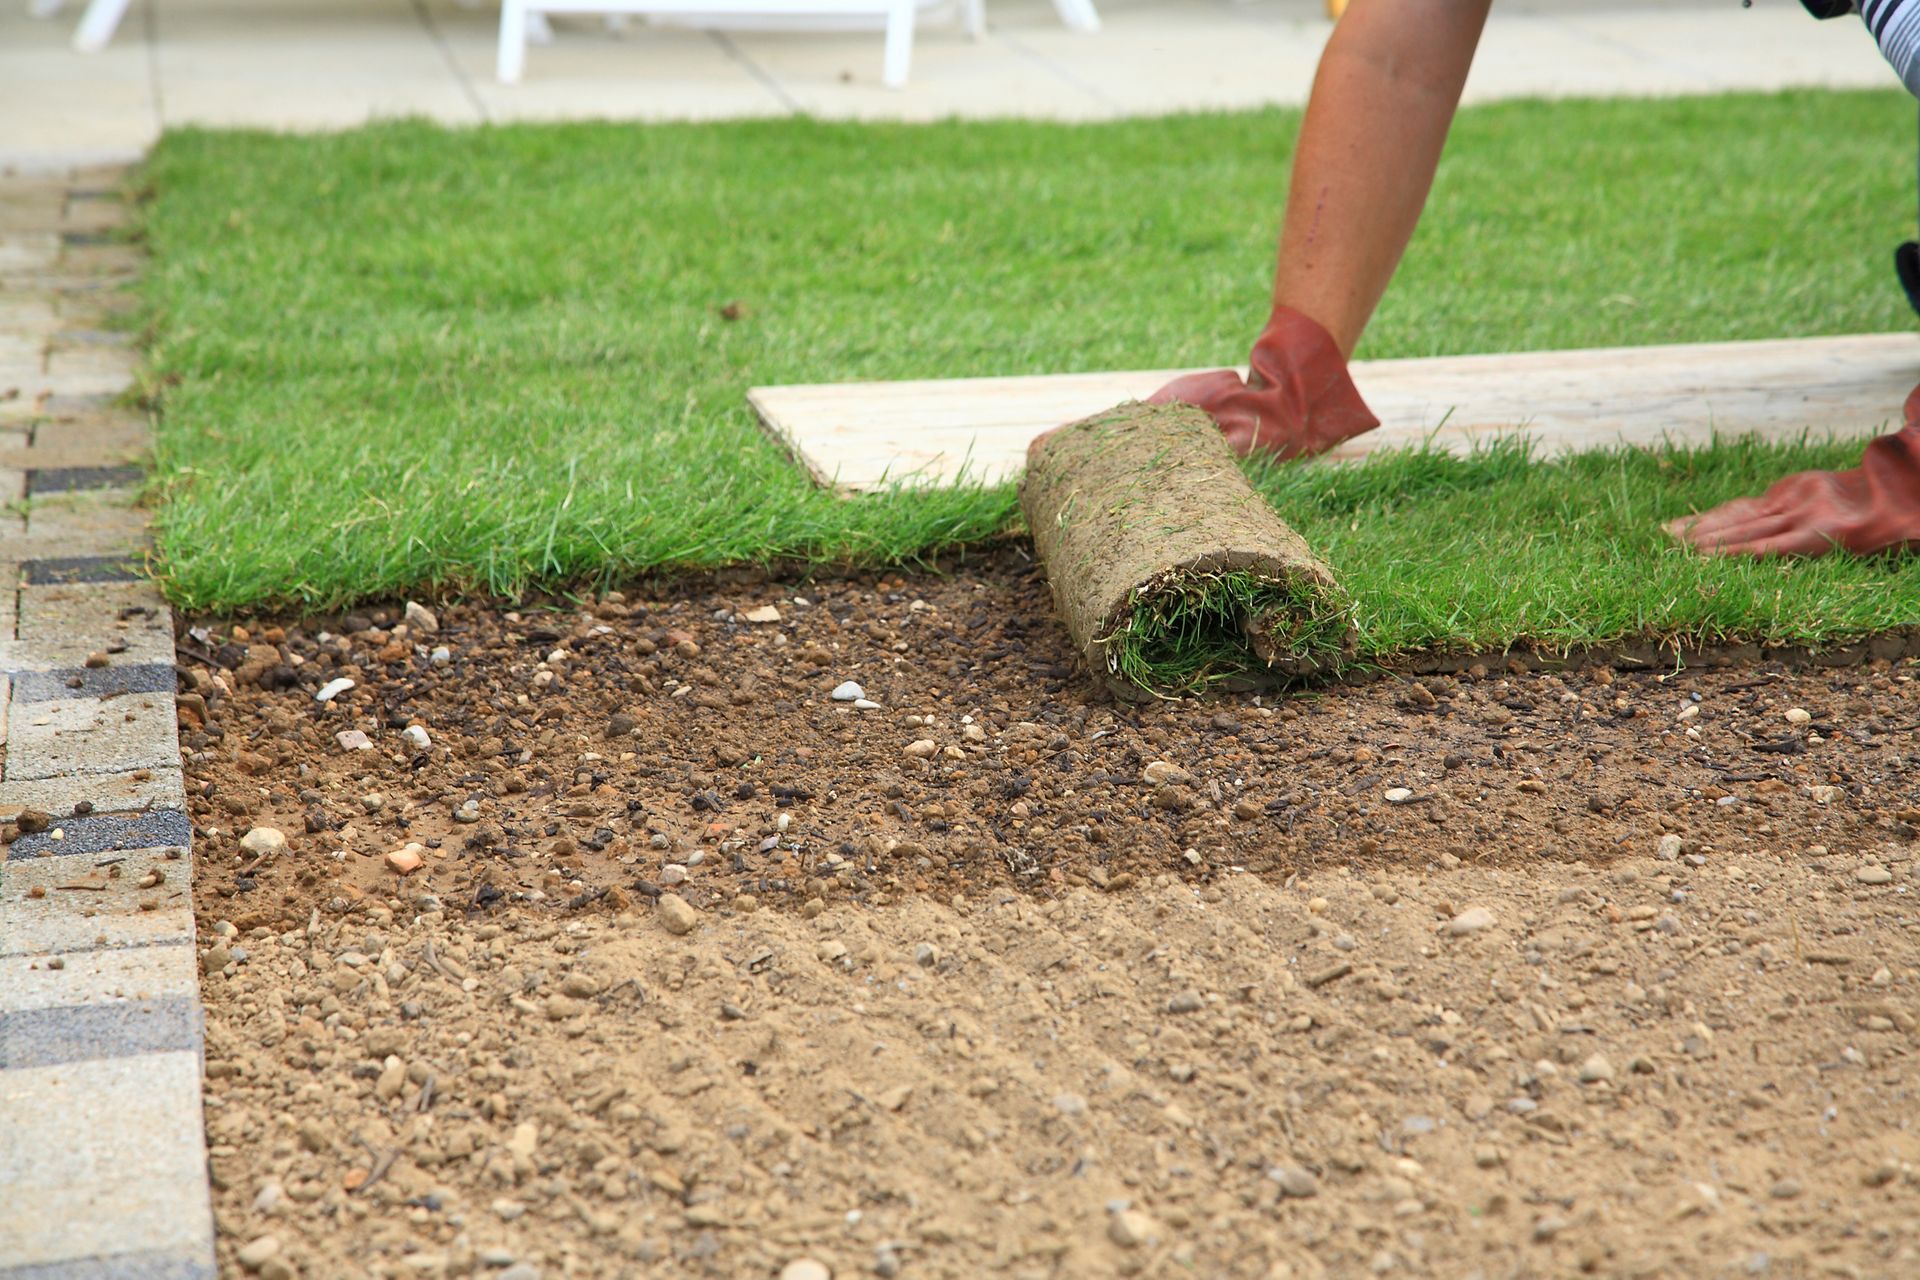
2. Sod Should Be Installed on Freshly Tilled Soil
If you are an avid gardener, then you may know that many types of plants thrive in soil that is loose and not compact, especially when first planted. Compacted soil contains fewer pockets of air that some plant roots need to thrive. Compacted soil also absorbs less water than loose soil and can impede the growth of deep root systems. For this reason, you should plan to lay your sod on freshly tilled, loose soil.
However, after tilling, the soil that you plan to lay sod over should be slightly compacted with a roller before sod installation. Slight soil compaction after tilling aids in the creation of a flat lawn with no lumps or bumps; if you skip this step, the surface of your lawn can become uneven over time as soil naturally compacts.
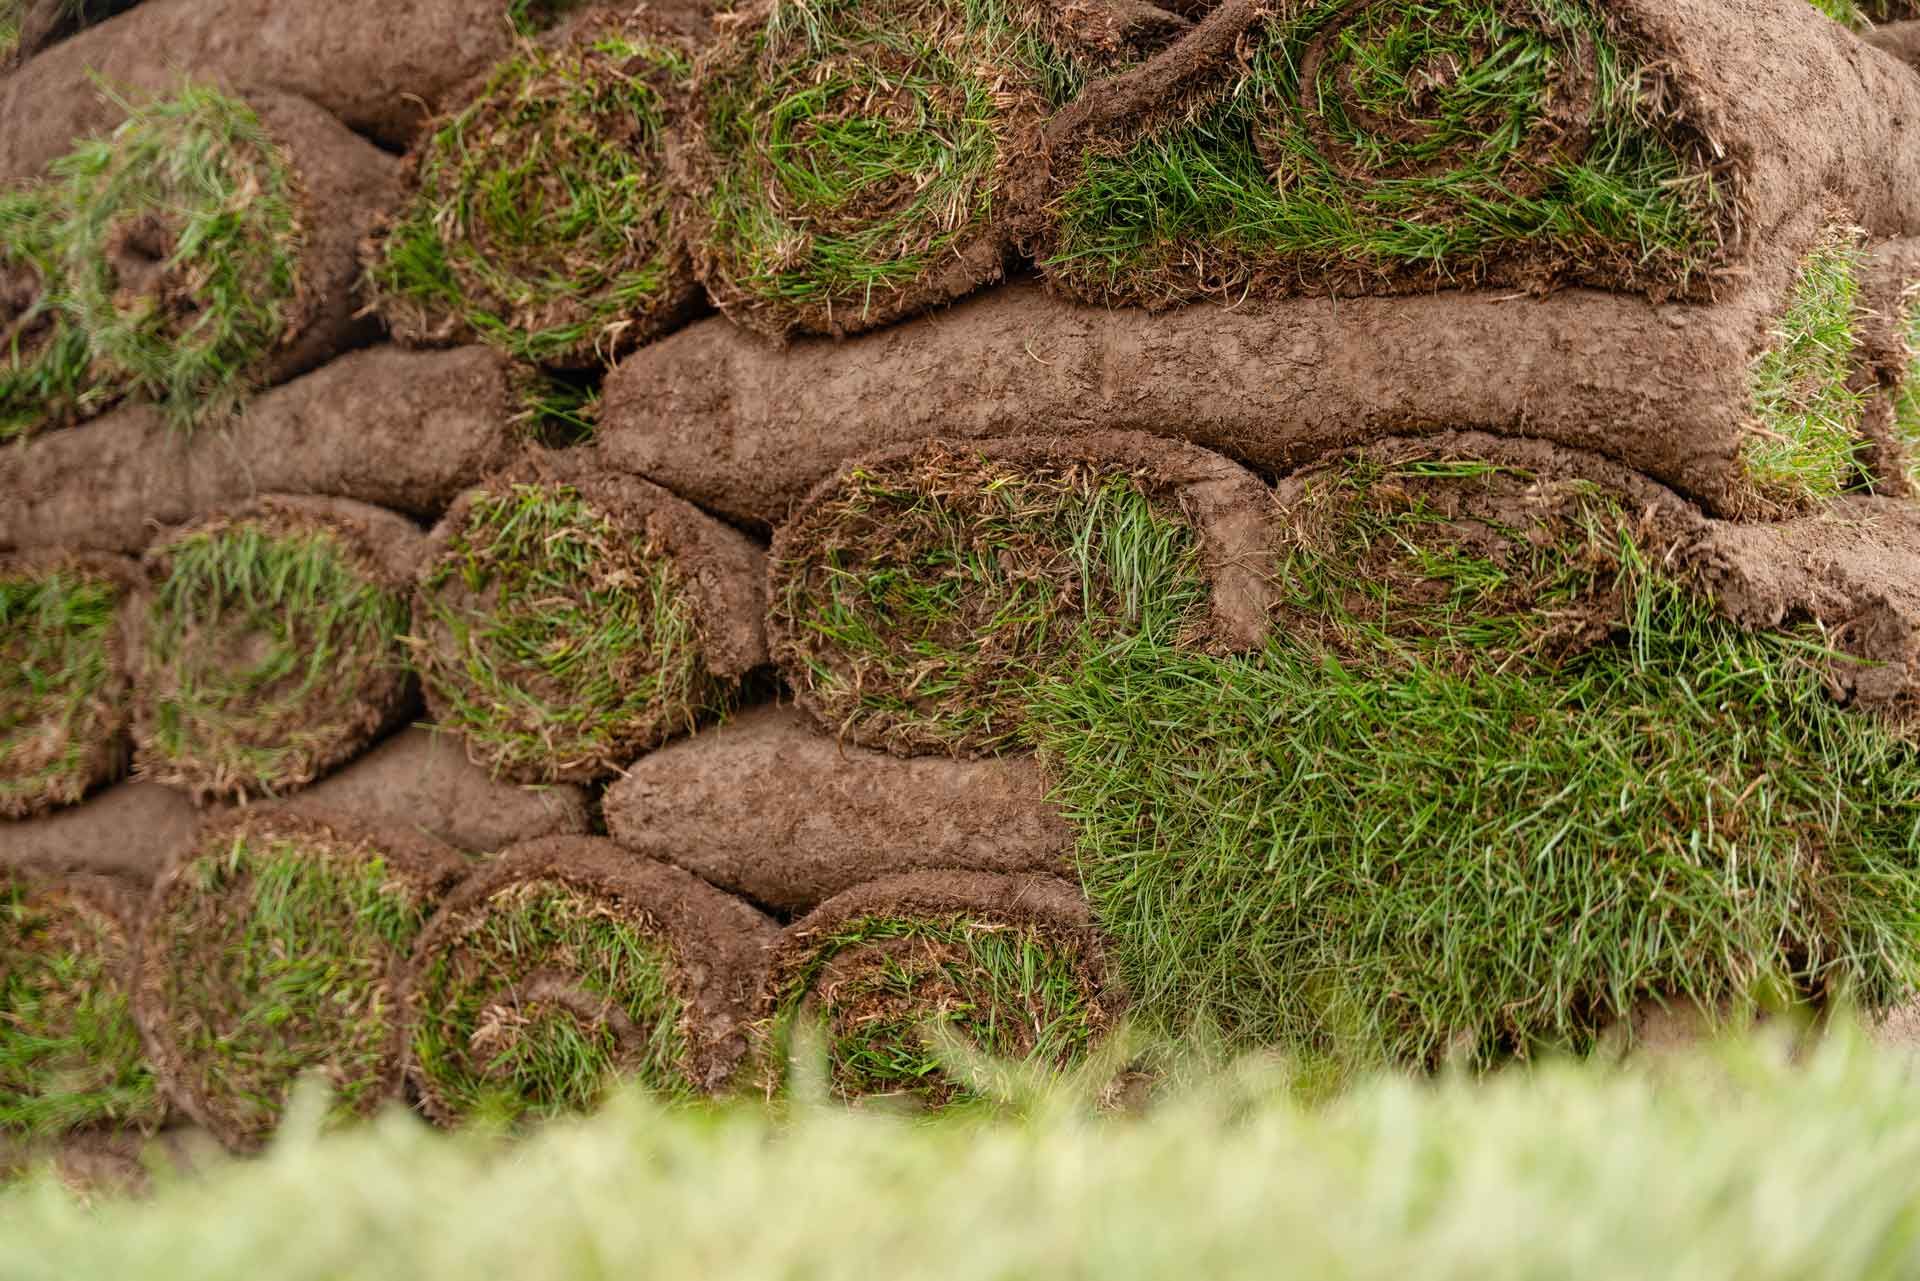
3. Soil Should Be Prepared Before Sod Arrives
Depending on the quality of your current lawn soil, soil preparation before laying sod can be a timeintensive and labor-intensive process. Rocks and debris must be removed from soil; soil must be tilled and rolled, and the soil pH must be tested and adjusted with a proper soil additive. For this reason, you should prepare your soil before your shipment of sod arrives at your home.
You can then plant your sod immediately after it arrives before its health begins to decline. Even when sod is stored in a cool garage, it obtains no nutrients from the soil and no sunlight, which can cause it to quickly decline until it is planted.
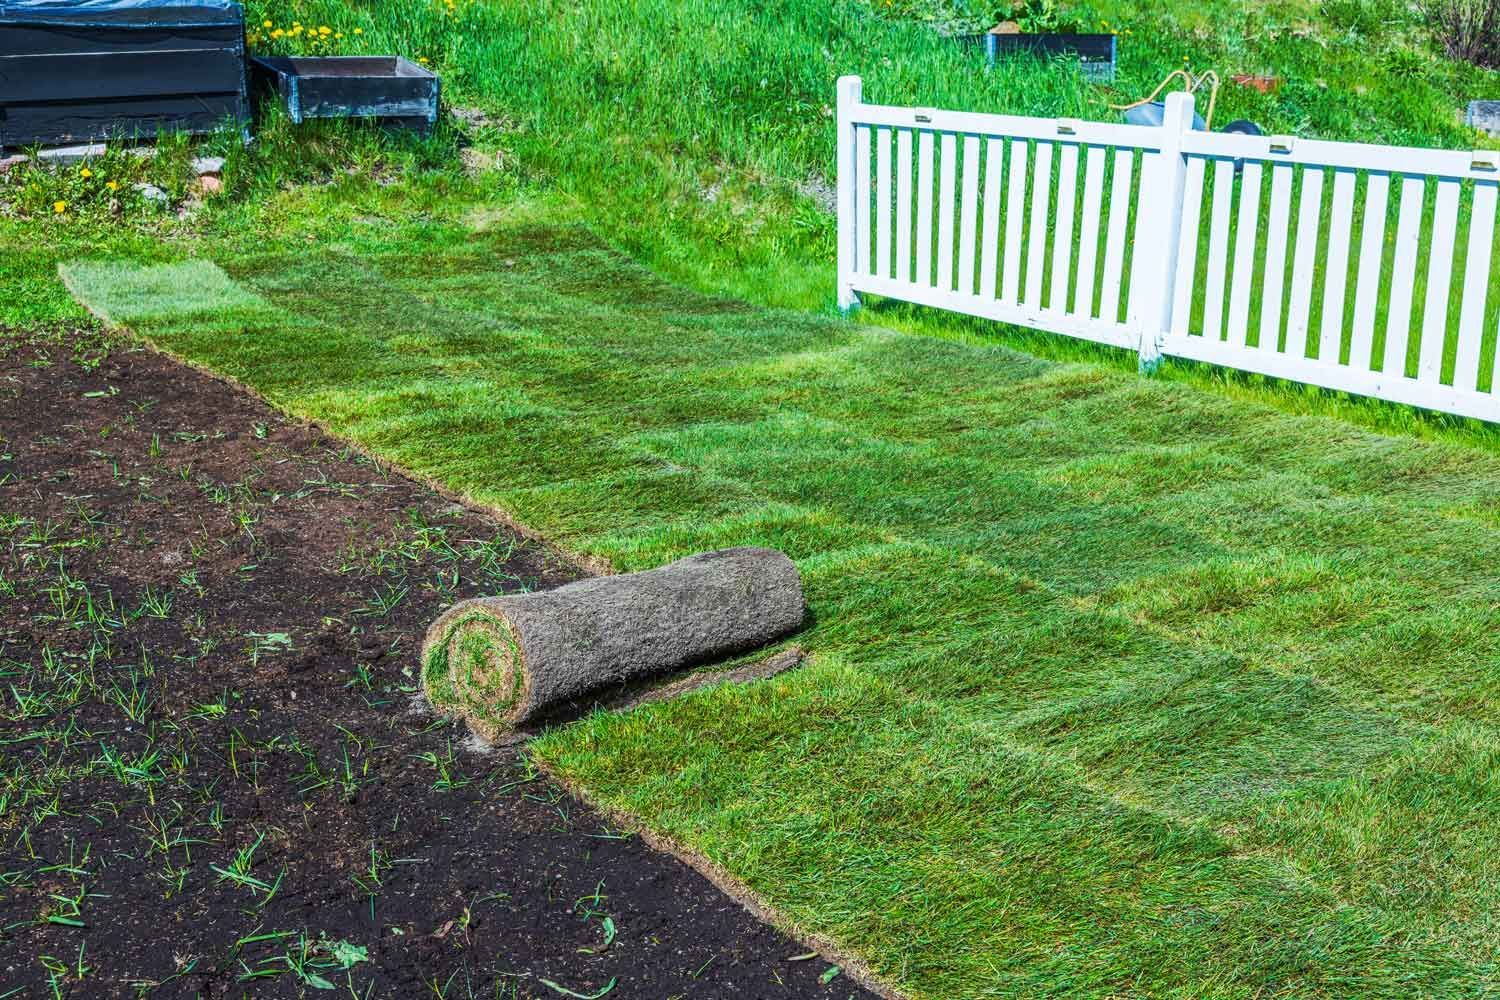
4. Brown Sod Seams Are Dead and Cannot Be Revived
When laying sod, it is important to join seams together well without overlapping or stretching the sod, which can create seam problems. However, even when these two seam mistakes are avoided, sod seams can still turn brown in color in some instances. While brown grass may appear dead, it typically is not and can often be revived after the cause of the discoloration is determined.
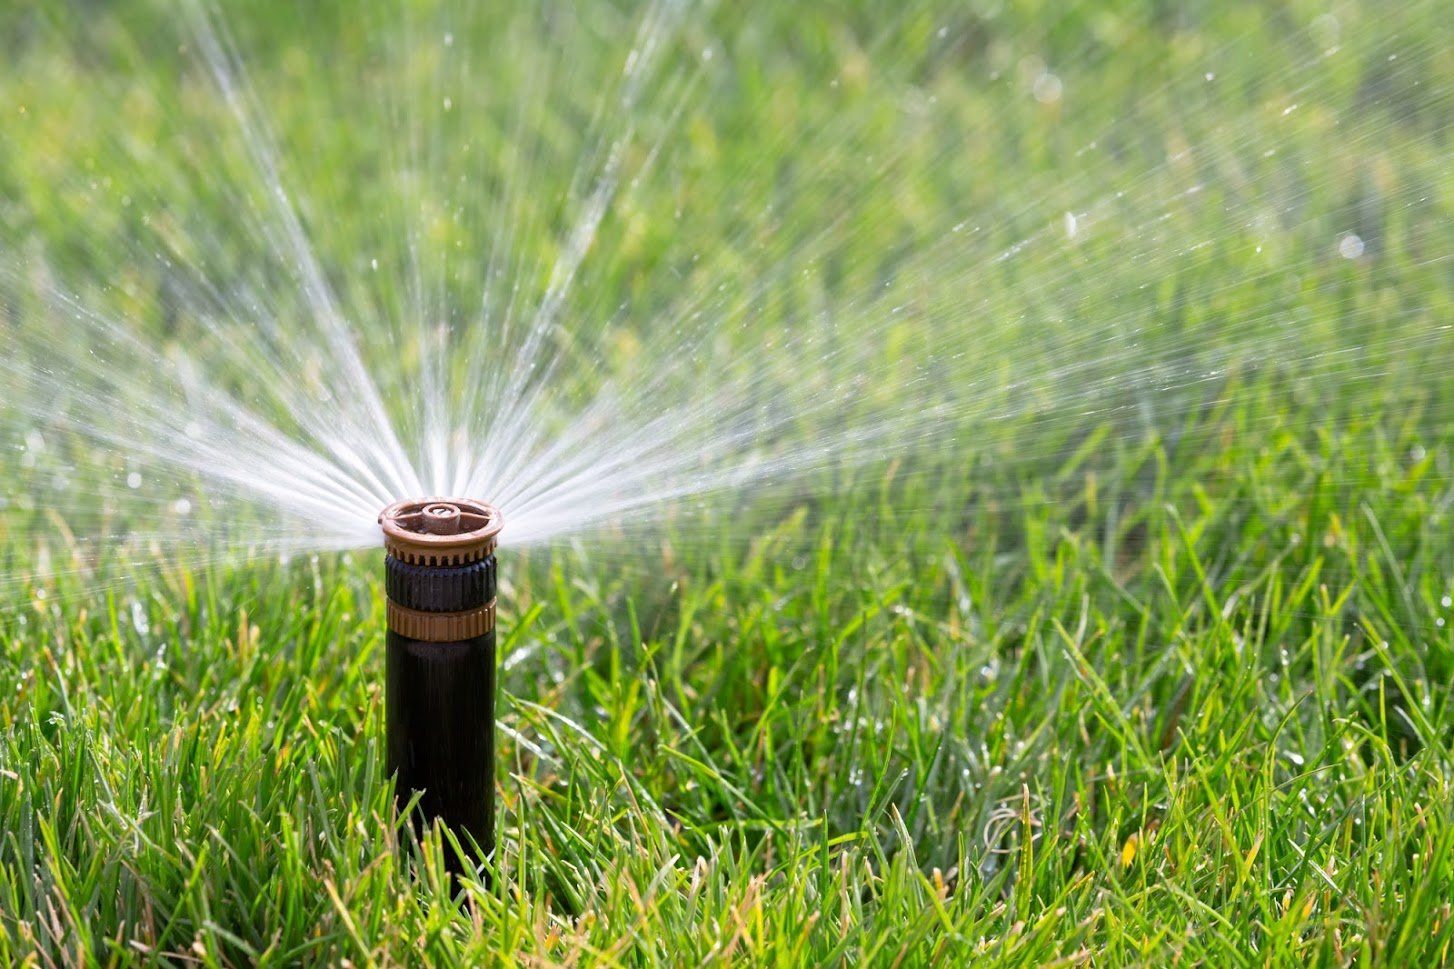
Frequent causes of browning in new sod include application of fertilizer within the first 30-60 days after planting, improper soil preparation, or often, under-watering of the sod.
Since sod seams tend to dry out relatively easily, brown sod seams are often caused by under-watering and can often be remedied by watering the grass at the seams more.
Keep these four misconceptions about laying sod in mind as you prepare your soil, lay your sod, and encourage its growth. Contact the sod experts at Novasack Turf Farms for all of your residential sod needs today.